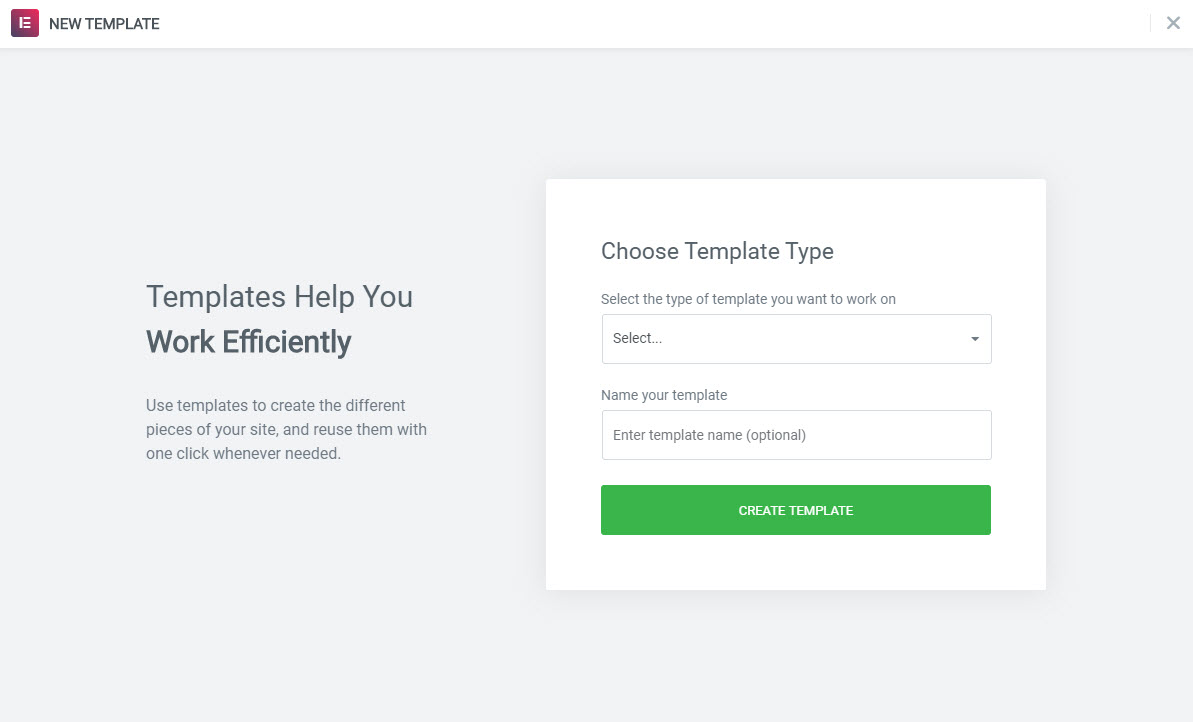
Step 1: First navigate to Templates tab (Elementor Templates) in your website’s Dashboard.
Step 2: Then click on Add new Section / Page sub menu and open the default page editor form.
Step 3: Enter your new name in Section / Page in the Title field.
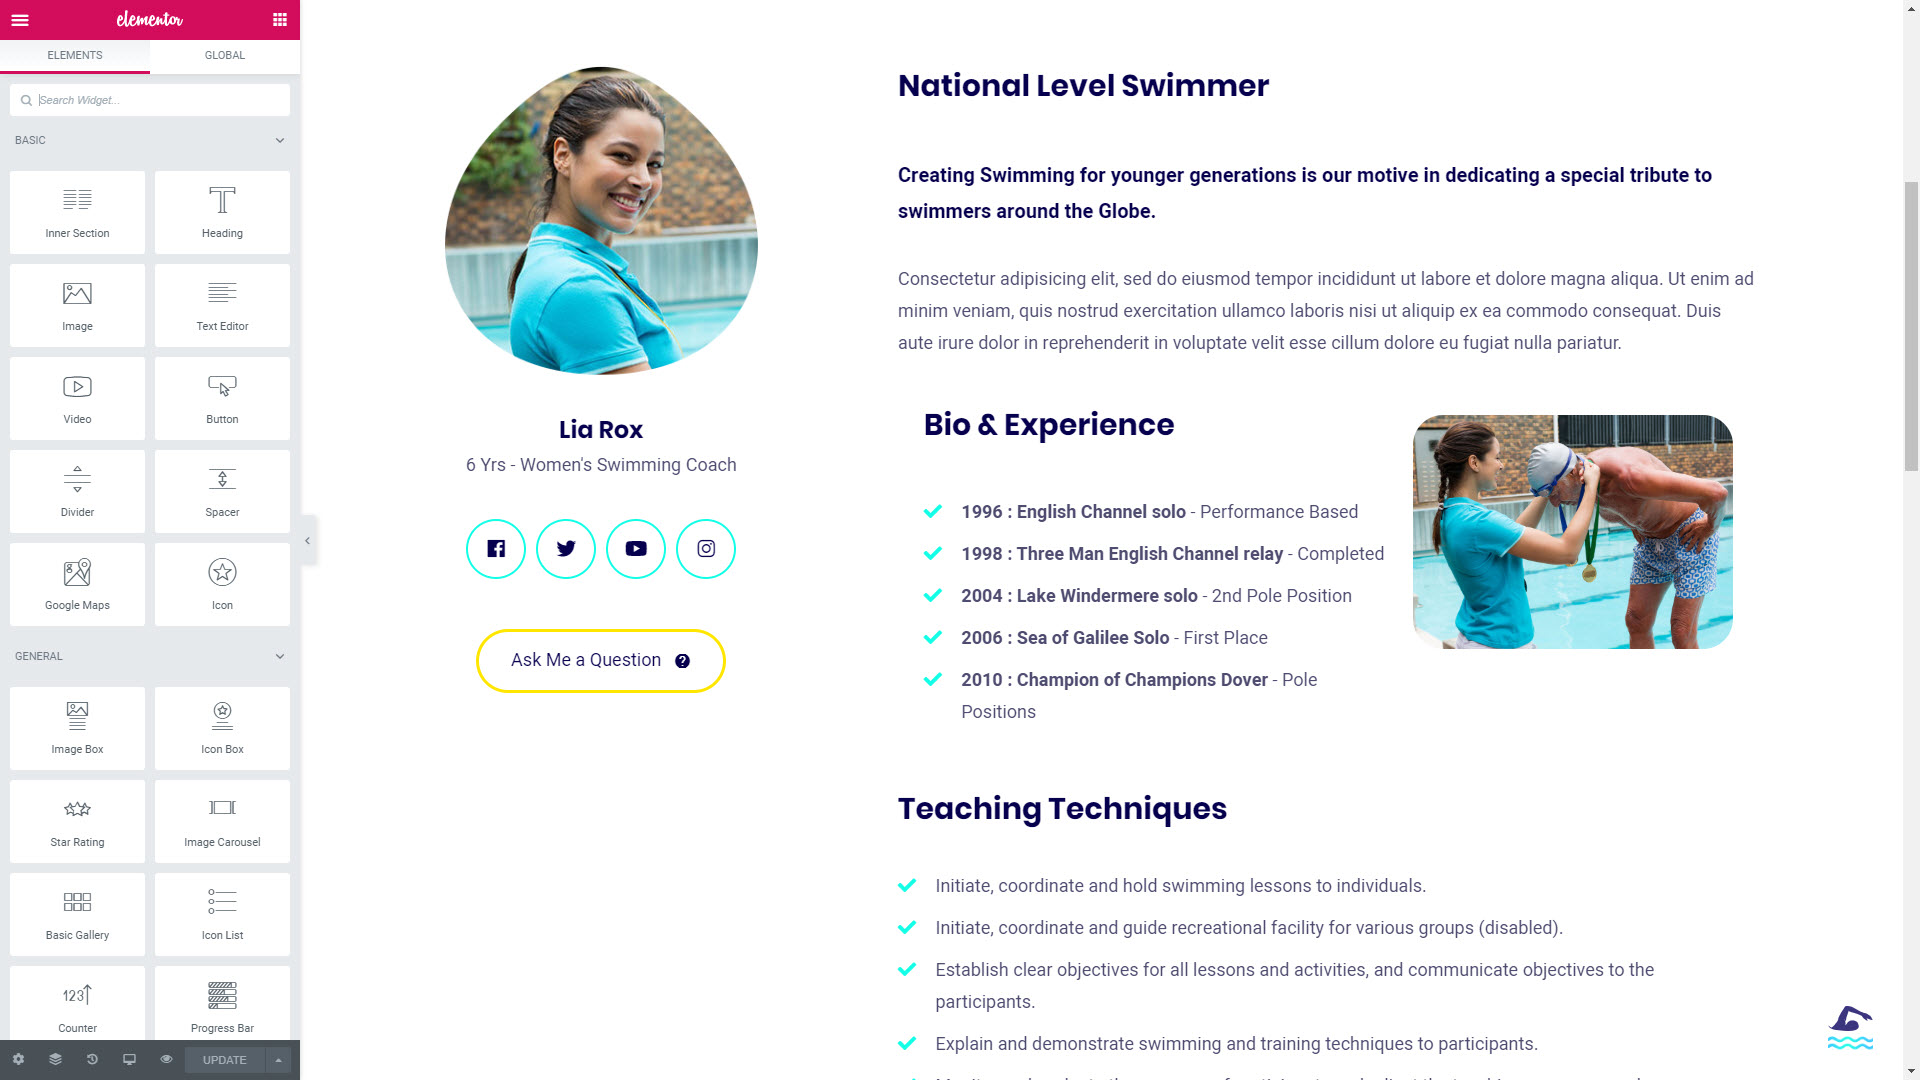
Step 4: Switch to Elementor page editor using Edit with Elementor button.
Step 5: When Elementor editor opens, you’ll see the block containing Add New Section button at the right part of the screen, where your future page’s draft shows up. Click on it to add the section where your content will be placed.
Step 6: If you need to add a new column or duplicate the existing one, click on the Column tab at the top of the column in the preview window, and you’ll see the options available for it:
- duplicate : the option duplicates the column;
- add : the option adds a column with the exact sizes for the column you’re customizing;
- remove: here you can delete the column.
Step 7: You can also change the position of the column. To do it grab the column and insert it into the section where you want it to be.
Step 8: The same way you can move the whole sections. To do it grab the section and place it to the preferable location.
Step 9: When everything is ready click on Save button to save your new page/ section.
Step 10:Now you can select this template in the user edit page.


