This step-by-step tutorial will guide you through the process of Update theme installation via FTP
It’s always a good idea to make sure that you have a current backup of your web site, including your wp-content folder, your wp-config.php file, and your .htaccess file in your WordPress installation folder, and a copy of your WordPress database. You can use these to revert back to your original site if something unforeseen happens during the update process. If you are not familiar with how to do this yourself, there are several plugins available that completely automate that process for you, such as: UpDraft Plus and WordPress Backup Buddy
Updating theme via FTP
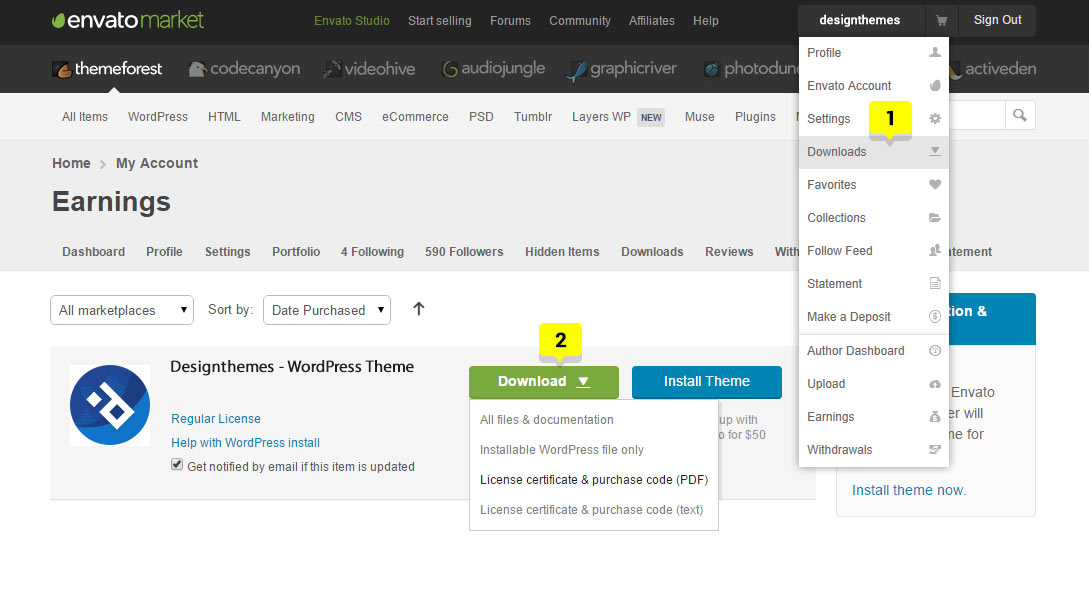
Step 1 : Download the theme again from ThemeForest

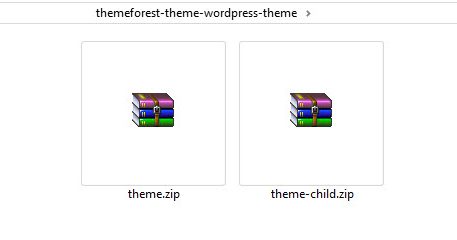
Step 2 : Extract the downloaded theme.zip file into a folder.

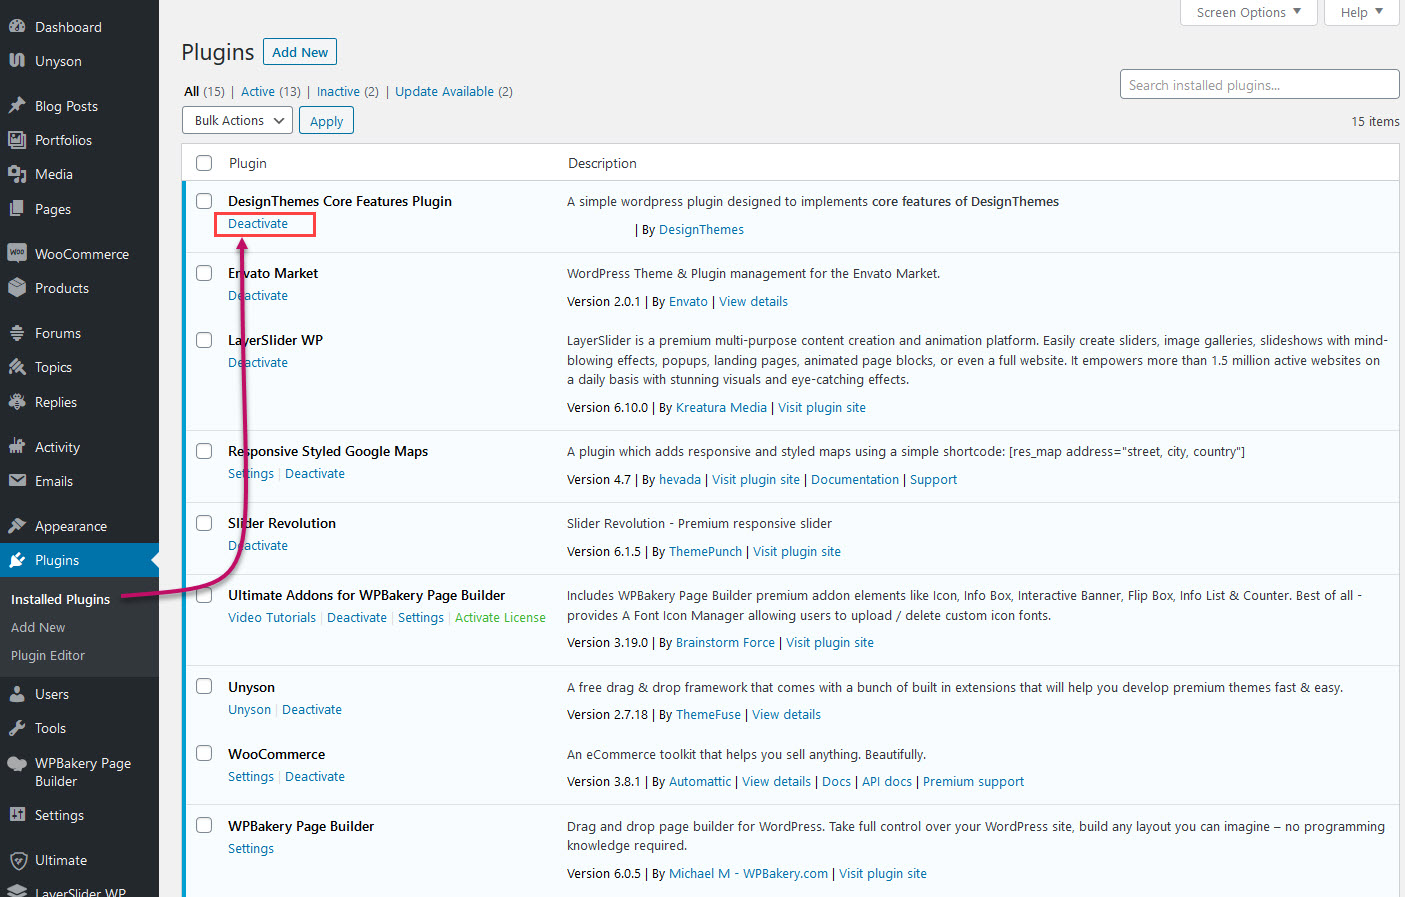
Step 3 : Deactivate and delete the “Designthemes Core Features” plugin. (Navigate to the Dashboard > plugins > Designthemes Core Features or Designthemes Core )

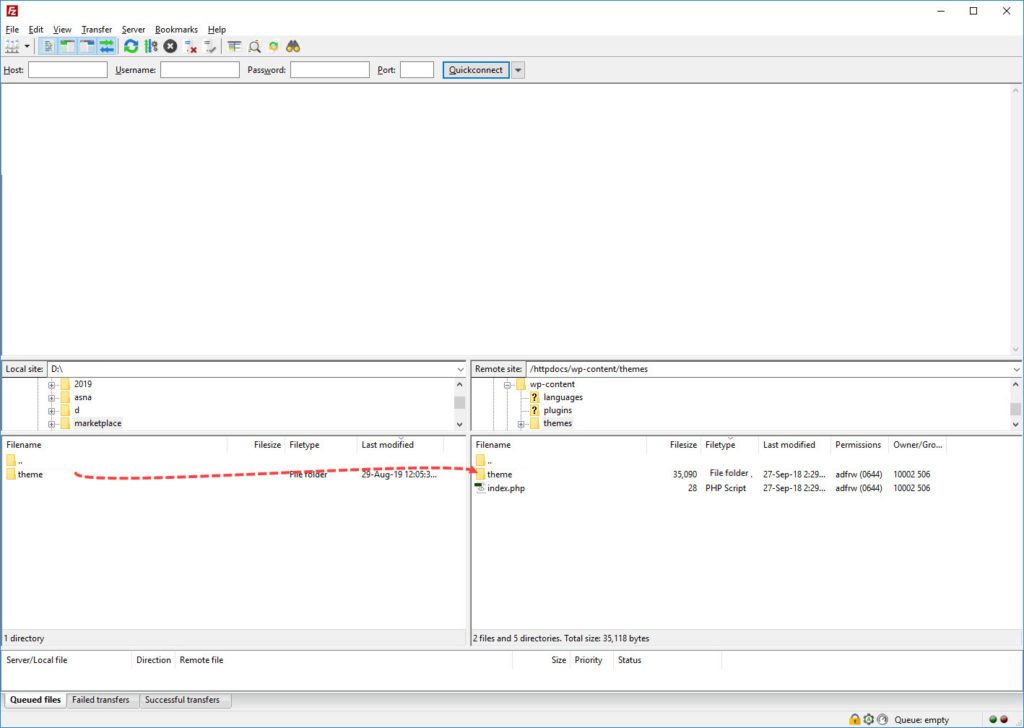
Step 4 : Step 4: Use an FTP client (like FileZilla) to access your host web server.

Step 5: In the file browser, navigate to /wp-content/themes.
Step 6: Drag and drop (themes) the extracted theme main folder into the directory.
Step 7: The FTP program will give a warning that there is an existing directory with the same name, choose Replace All
Step 8: Once done, check the theme version in WordPress admin dashboard.
Step 9 : Login in to your WordPress admin “Designthemes Core Features” plugin needs to be updated on theme update. You will be prompted to install it upon installing or updating your theme.
Step 10 : If you dismiss the prompt or do not see it, then you can go to Appearance > Install Plugins page and install the plugin that way. If you check the “Update Available” link in that section, you can see the plugins which all needs to be updated.
