
Below are the top 3 reasons why a contact form is better than pasting your email address on a page.
- Spam Protection – Spam bots regularly scrape websites for the mailto: email address tag. When you post your email address on the website, you will start to receive a lot of spam emails. On the other hand, when you use a contact form, you can get rid of almost all spam emails.
- Consistent Information – When emailing, people don’t always send you all the information that you need. With a contact form, you can tell the user exactly what information you’re looking for (such as their phone number, budget, etc).
- Saves Time – Contact forms help you save time in more ways than you can imagine. Aside from consistent information that we mentioned above, you can also use form confirmations to tell the user what are the next steps. Such as watch a video or wait up to 24 hours to get a response, so they don’t send you multiple inquires.
Step 1. Install Contact Form 7 Plugin
Installing Contact Form 7 is as easy as any other WordPress plugin. Simply log into your site, go to Plugins > Add New and type its name into the search box.
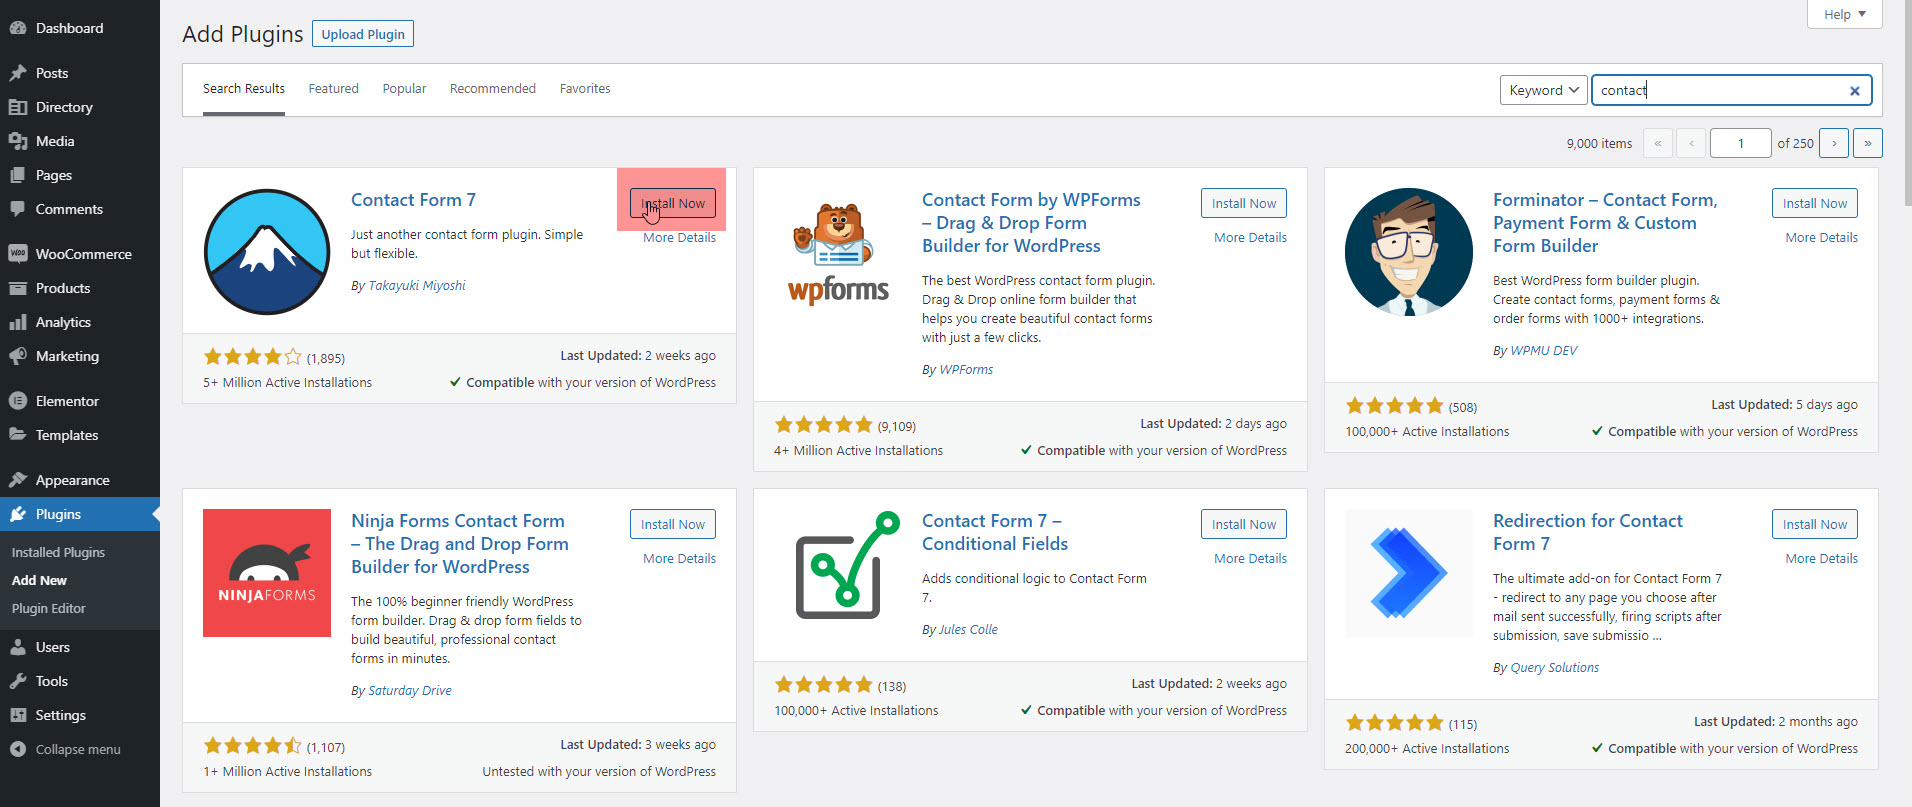
It should appear in the first place. Click on Install Now to download it on your site. When it’s done, click Activate to start using the plugin.
Step 2. Create Your New Contact Form
After the installation, you will find a new menu item named Contact in your WordPress sidebar. Clicking it gets you to this screen.

You get a number of tooltips for making your contact form better such as using spam protection. We will get to that stuff later.
More importantly, you will find a list of all contact forms on your site. It includes a sample form that you can, theoretically, use right away. Either click it to start editing or hit Add New at the top of the screen. Both will get you here:
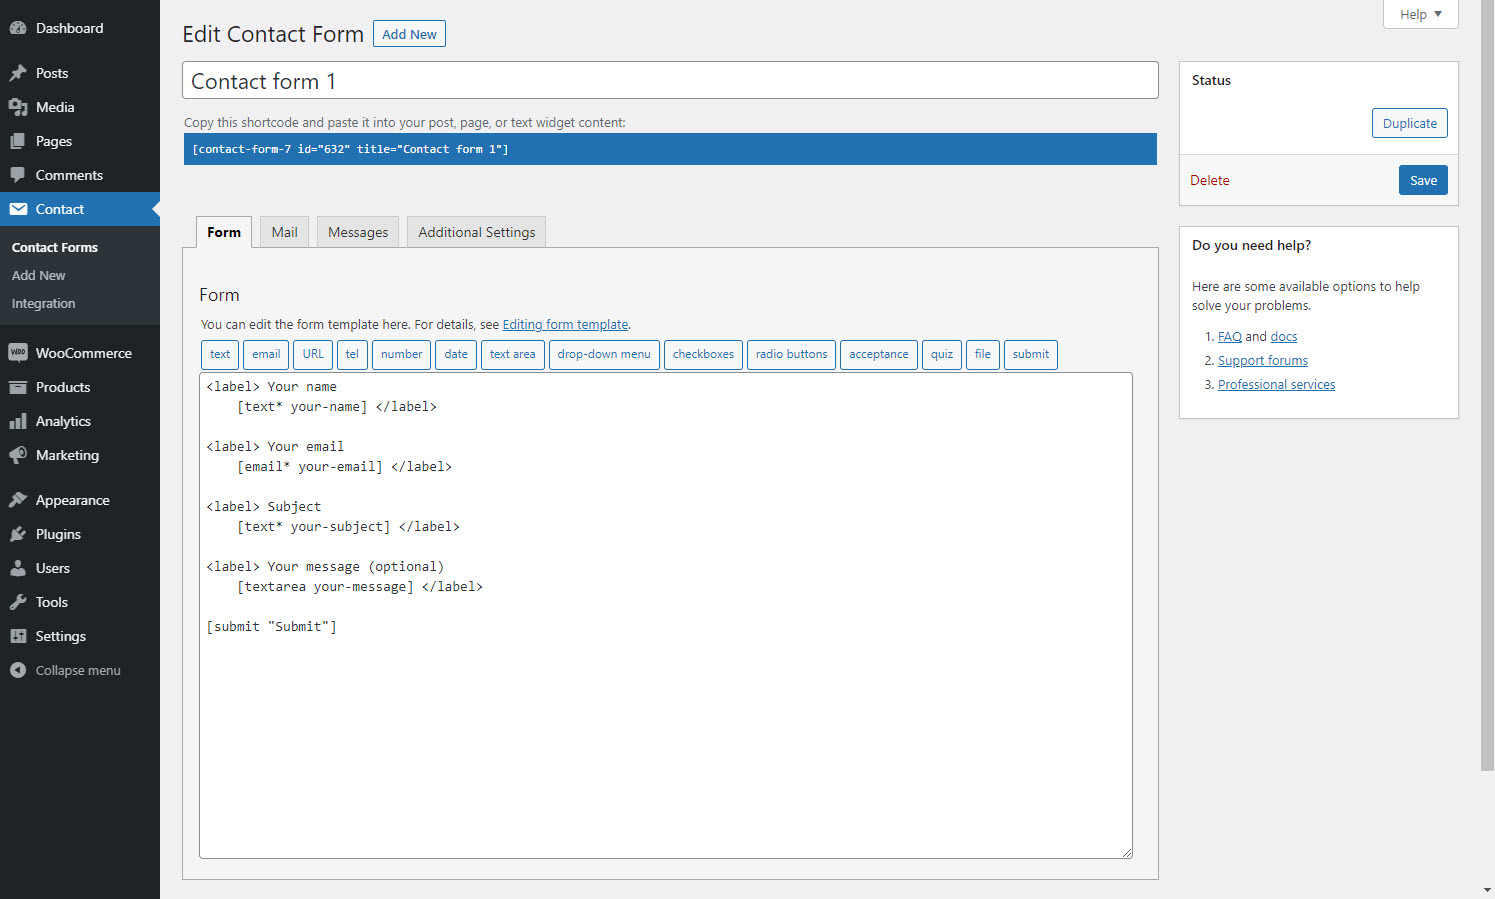
It looks a bit cryptic at the beginning, but don’t worry – you will understand it soon.
In order to work, your contact form needs fields. Fields are where visitors input their name, email address or the message they want to send you, or anything else you might want them to add.
Contact Form 7 creates those with a little bit of HTML plus custom tags. Everything between
<label>...</label>
denotes one field of your contact form plus the text description belonging to it. The actual fields are created by what’s between the square brackets.
Does that mean that in order to create a contact form you need to learn programming languages? Fortunately, the plugin comes with tools to generate these automatically.
Step 3. Edit Email Settings
You have to configure the email sent to you from the contact form. Unsurprisingly, you do this under the Mail tab at the top.
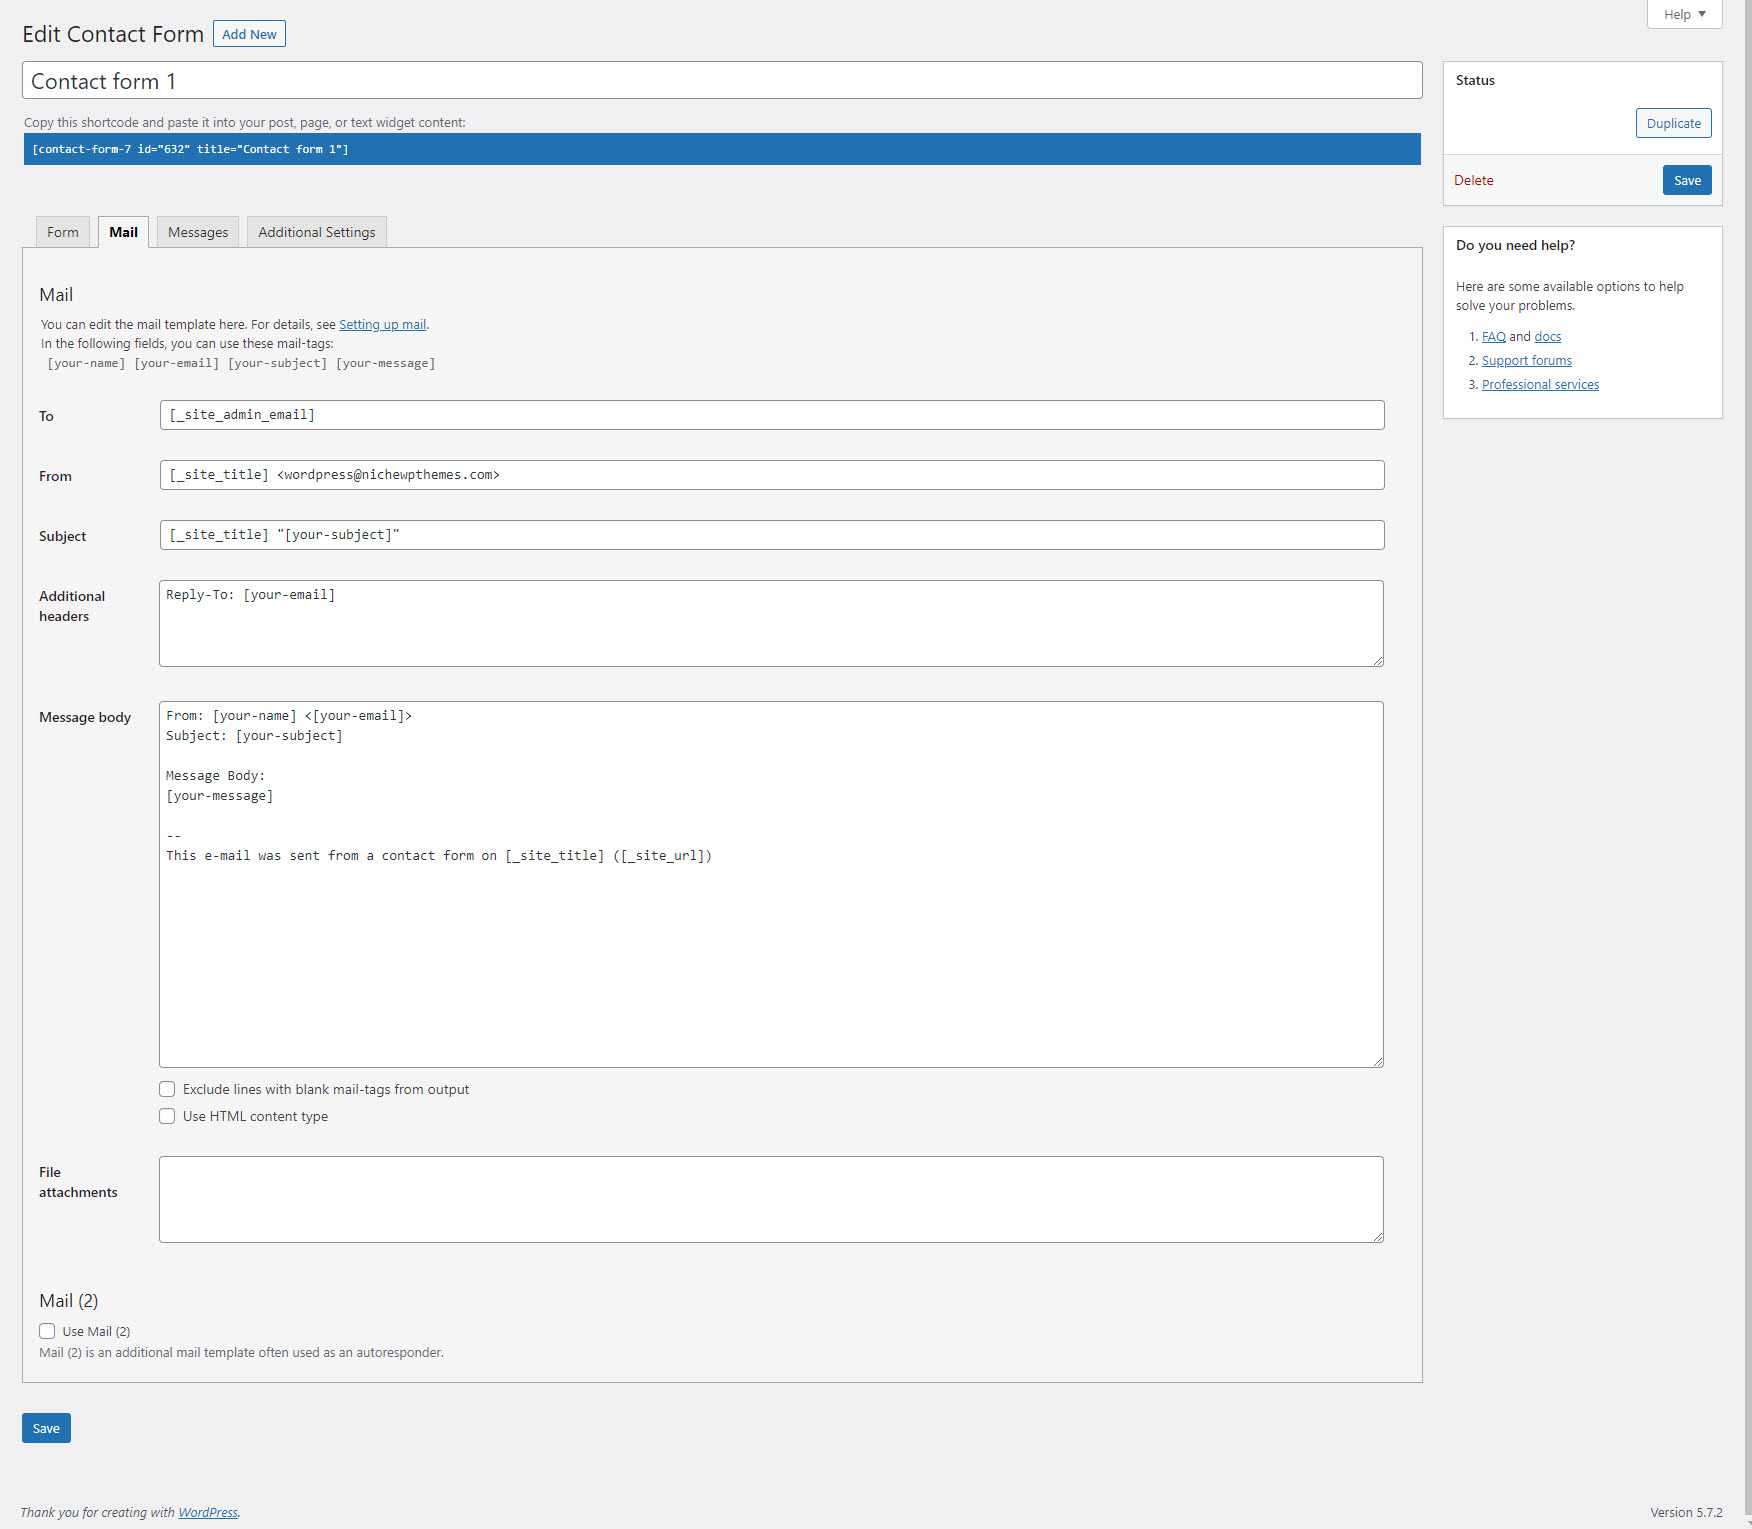
You will find the fields pre-filled with similar tags as the contact form earlier. It also provides you with available field tags including any new ones you created earlier (if you have saved the form). You can use those to customize how you will receive messages from your contact form.
Here’s what each field means:
- To — The email address to which the messages will be sent. You can usually leave this as is.
- From — Sender of the email. By default, it is set to the name of the person using your contact form.
- Additional Headers — Space for additional message header fields. The standard settings send your response to the email of the person contacting you, not the email it came from (i.e. your site) when you hit Reply. It’s also possible to put addressees to CC or BCC in there.
- Message Body — The body of the email you will receive.
- Exclude lines with blank mail-tags from output — When you check this, if any of the used tags are empty, the plugin will exclude them from the message.
- Use HTML content type — By default, the message is sent in plain text. Check this box to use HTML instead.
- File Attachments — If your form allows file uploads, the tags for these files belong here. You can also use it to attach files hosted on your server.
- Mail (2) — An additional mail template often used as an autoresponder. Check to activate.
The standard options are pretty good. The only thing we need to change for our example is the subject line.
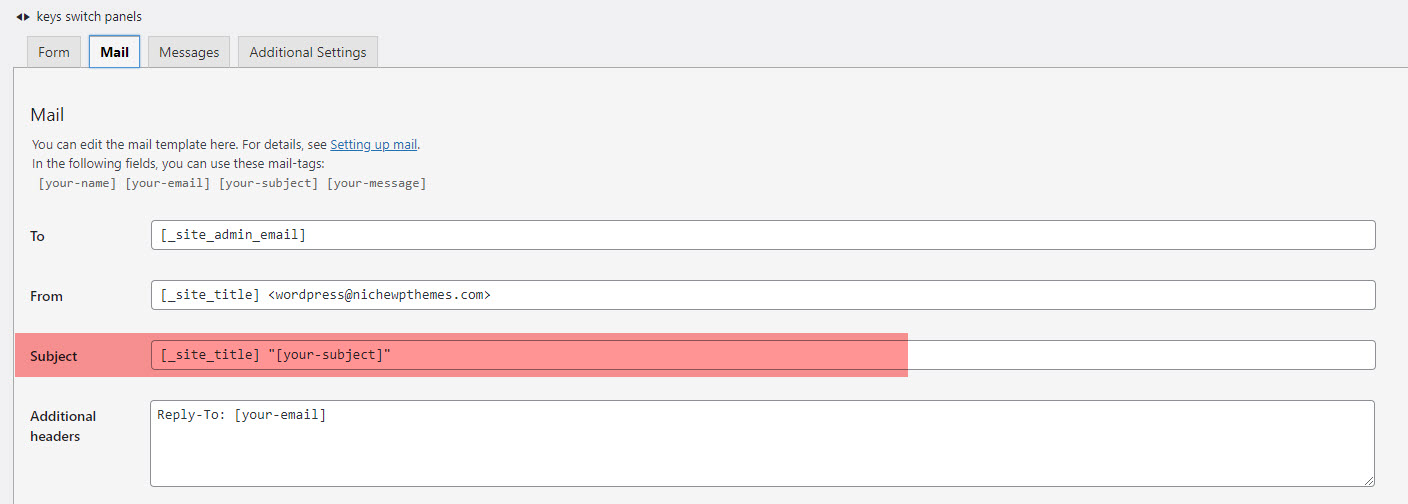
Using the format above, you can now set up a filter in your mail program to sort messages by subject line, giving priority to business inquiries. That’s all about mail settings for now.
Step 4. Add a Form Messages
Next up is the Messages tab. You have the ability to configure the messages your visitors might encounter while using the form.
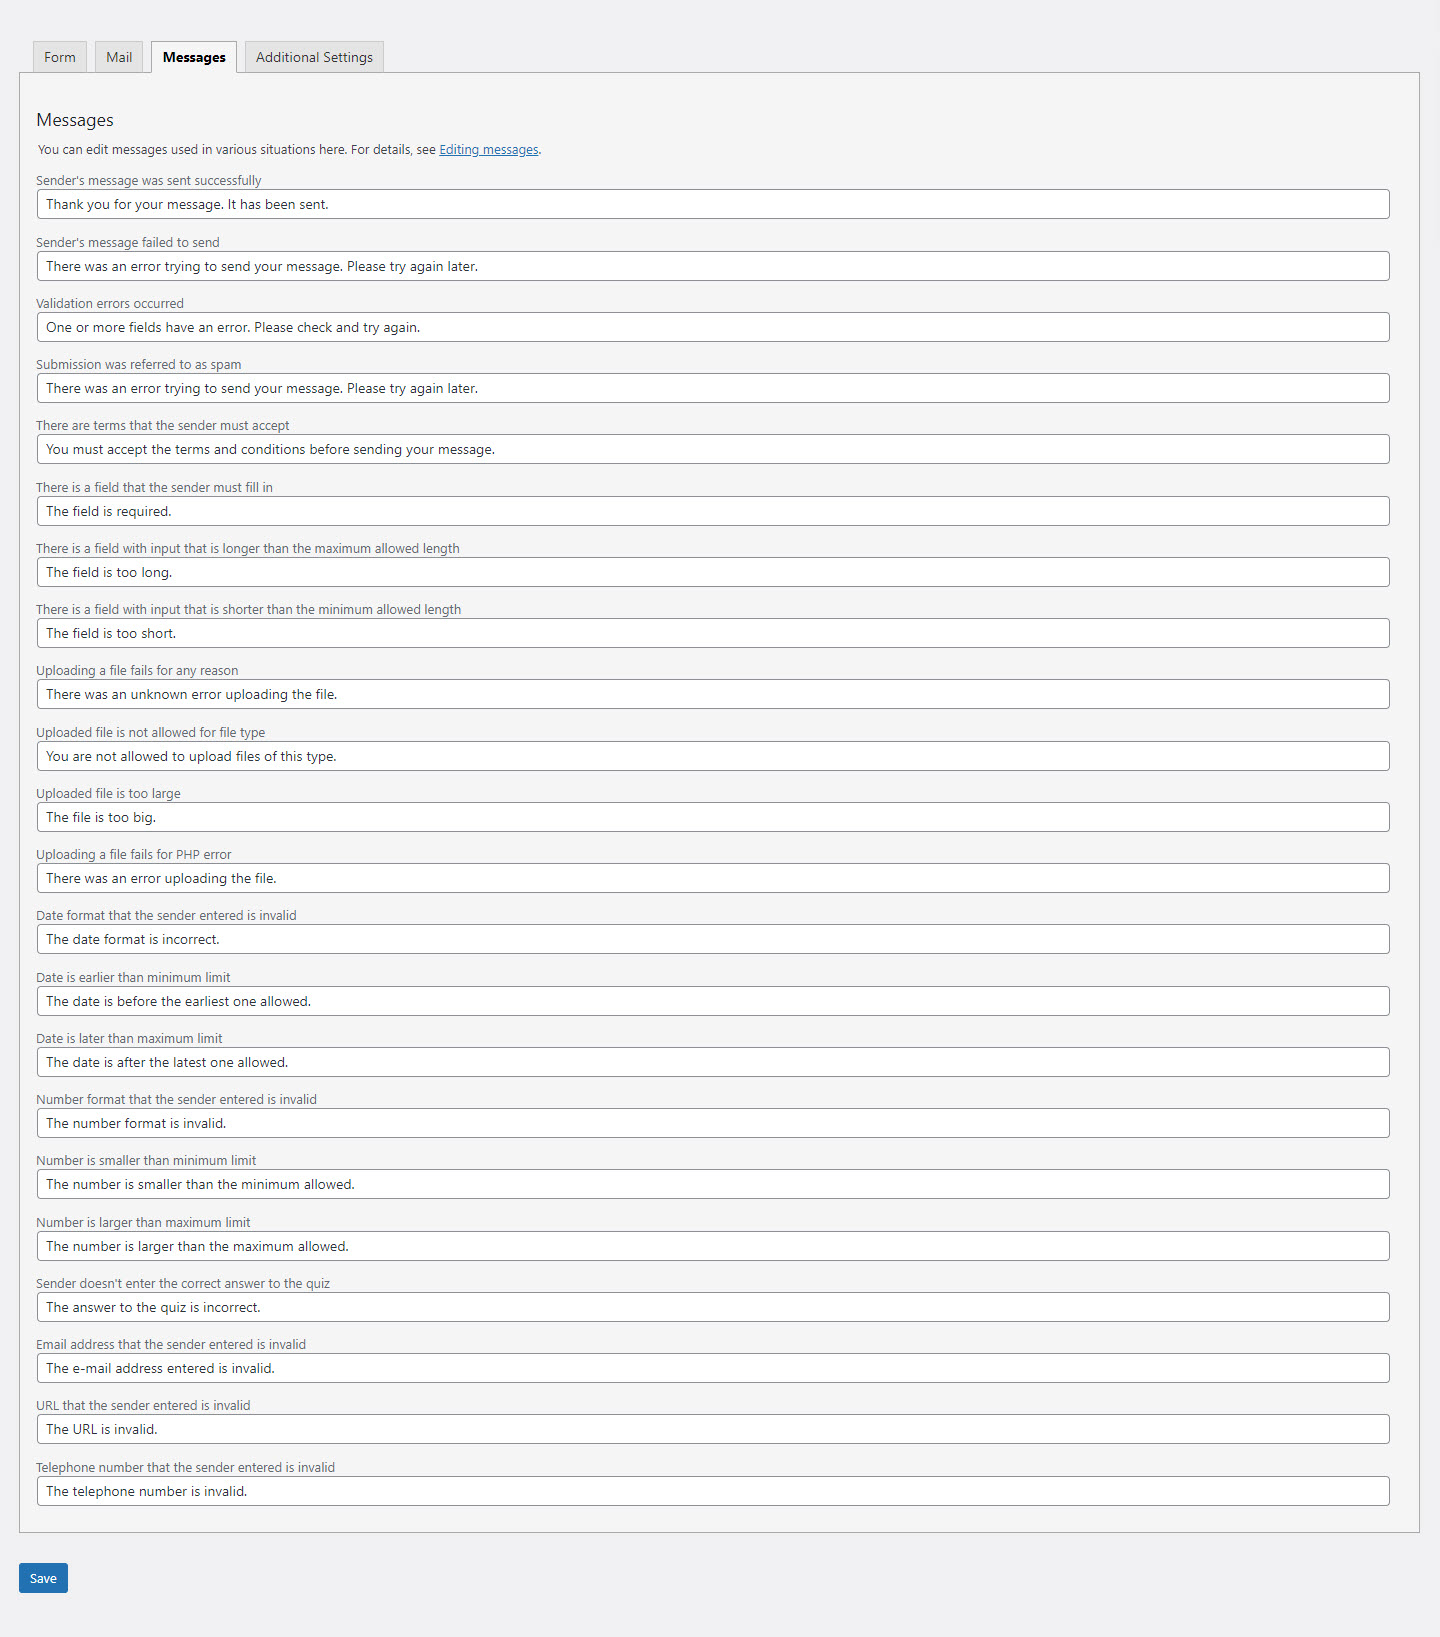
These are error messages, success messages or just hints on how to use the form correctly. We find that these are already pretty good so we usually leave everything as is. If you have a reason to change any of them (for example, to fit the tone of your website), feel free to do so.
Step 5. Customize Additional Settings
Finally, you get to the additional settings.
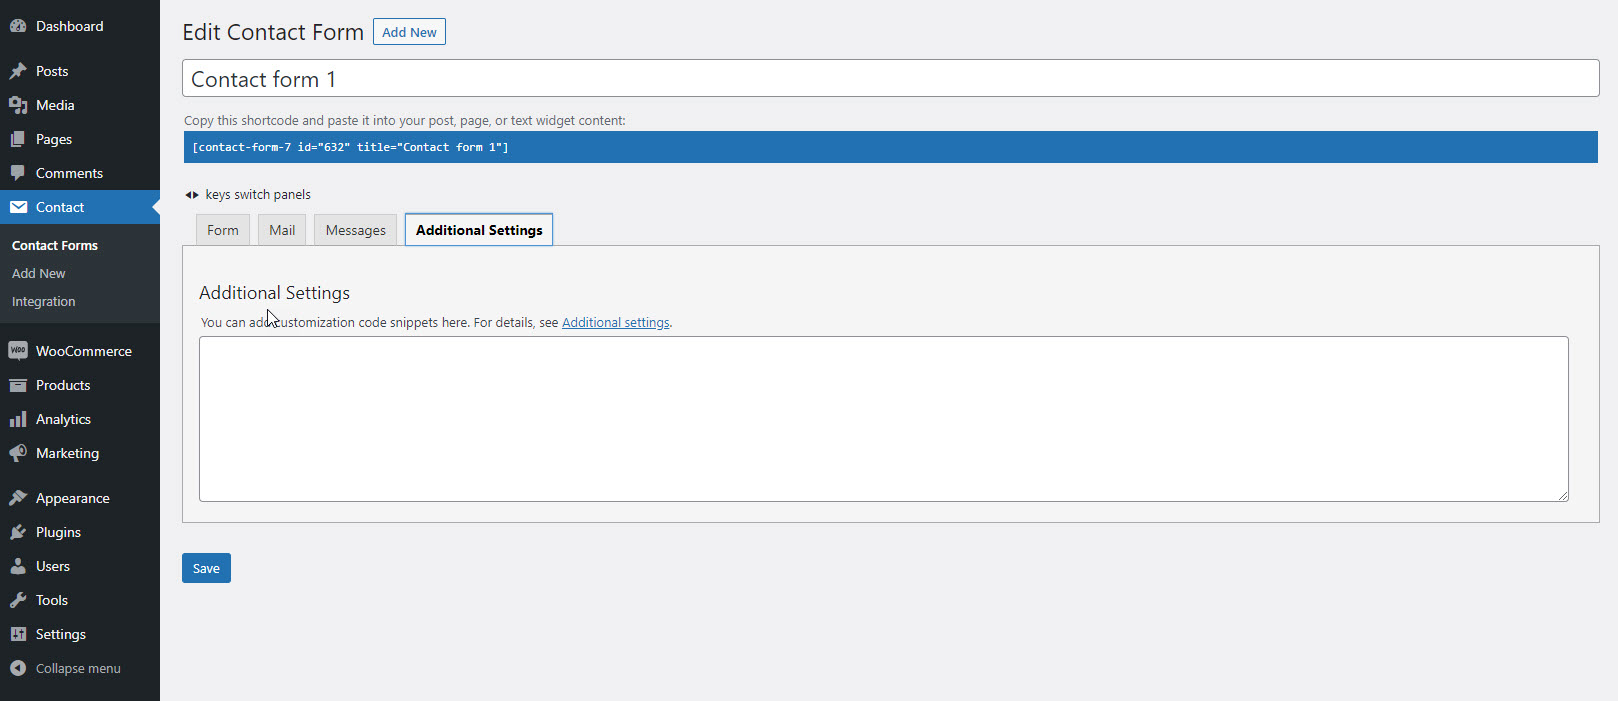
By default, these are empty. You can do different things – from limiting the ability for only logged-in people to submit the contact form to set the form to demo mode for testing purposes. It’s not important for our purposes but you can find all the different options in the documentation.
Contact Form Shortcodes
Create a contact form using the shortcode.
[contact_form]
- to
- (string) (Optional) The address emails should be set to.
- subject
- (string) (Optional) The message subject
- thankyou
- (string) (Optional) A confirmation message shown after sending.
- button
- (string) (Optional) The text for the send button
- captcha
- (string) (Optional) Set to “yes” to include CAPTCHA validation.
- fields
- (string) (Optional) The alias of the fields to include in the form. This can be a comma separated list. Only fields created in the theme settings can be used.
Contact form with custom options:
[contact_form to="[email protected]" subject="Message Subject" thankyou="Thank you message" button="Text for Button" captcha="yes" fields="field-1,field-2,field-3"]