Step 1 : Navigate to Rooms in your WordPress admin sidebar.
Step 2 : Click on the Add New button to create a post. Insert a title, then insert any post content in the editing field. You can use Fusion Builder to create advanced blog post layouts, or you can just add simple text to create a more simple blog post.
Step 3: Add and assign Categories on the right side of the Rooms. You can add Categories on the fly by clicking the + Add New Category link at the bottom of the Categories section, or you can navigate to Posts < Categories to set up your Categories independently. To assign Categories, check the box next to the Category name.
Step 4: Add Tags on the right side of the post. Type the name of the tag in the field and hit enter or enter multiple tags by separating tags with commas. The Categories and Tags that are added to the individual posts are also used as a way of filtering content in the Room Custom Fields Archive pages.
Step 5: Add a Featured Image. For a single image, click the first Featured Image Box, select an image and click the Set Featured Image button.
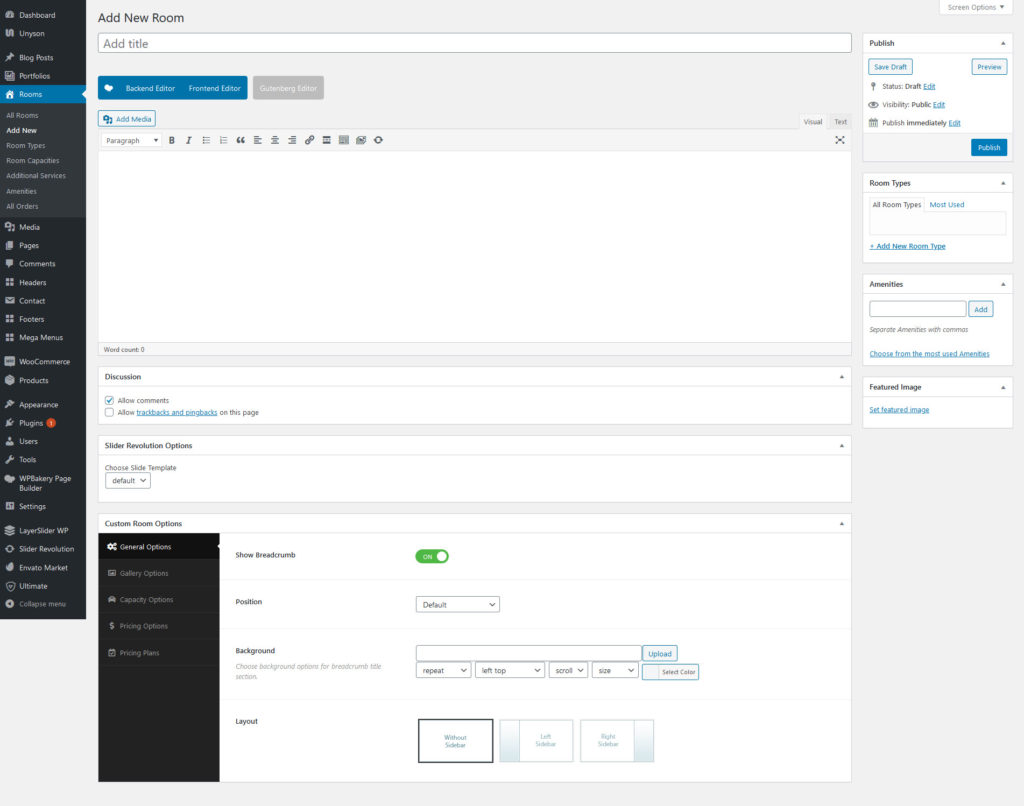
Step 6: Select any number of room options in the Custom Fields.
Step 7: Once you are finished, click Publish to save the room.