
This step-by-step tutorial will guide you through the process of theme installation via Bluehost cPanel, but you can do it with the help of cPanel your hosting provider has provided, or use an FTP client. The process won’t be much different.
Uploading Theme to Server
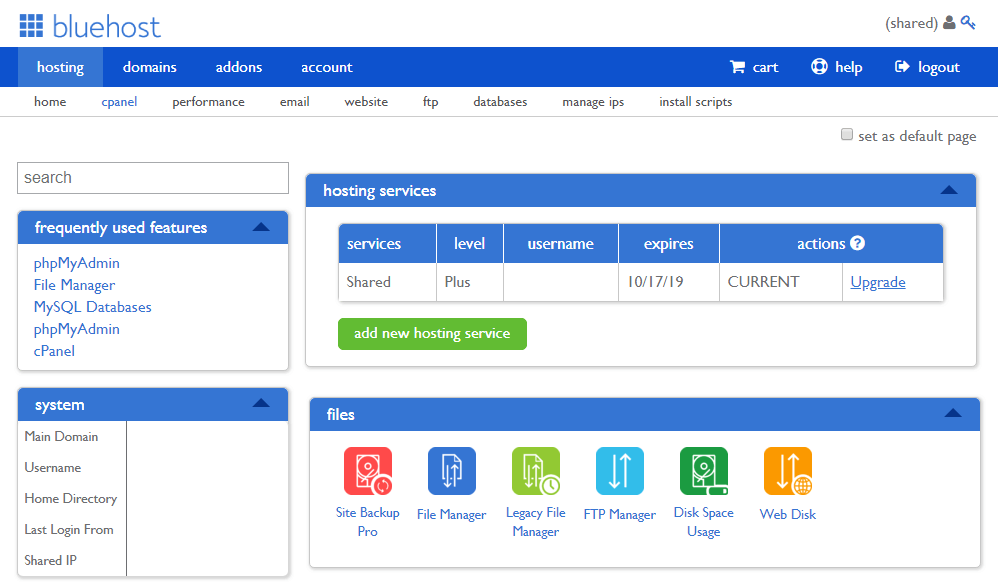
Step 1 : Log in to your account on the server and navigate to File Manager.
Click it and select the Home Directory option to move on to the database. Click the Submit button at the bottom to continue.
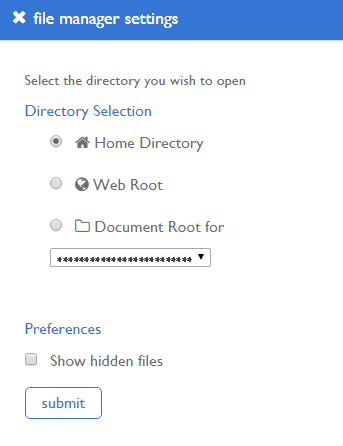
Alternatively, you can establish a connection with your server’s Home directory via FTP (e.g., using Total Commander).
Step 2 : As soon as you are in the Home directory, you should browse wordpress > wp-content folder, where all the WordPress information is stored.
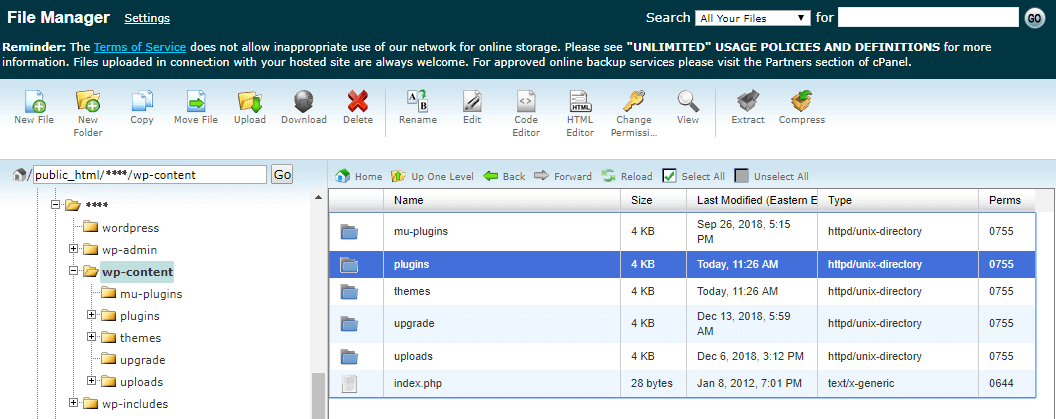
Step 3 : Next, open the plugins folder in order to upload all the Plugins into it. Find the Upload option at the top panel and click it to upload the archives with Plugins.
Step 4 : When the archives are uploaded, you have to extract them with the help of the Extract option at the top. As a result, these plugins will appear in your WordPress Dashboard.
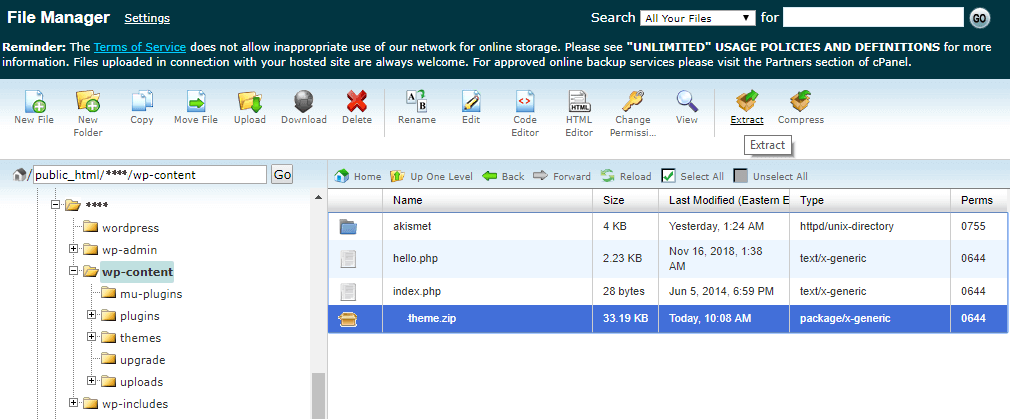
Step 5 : In case you’re using an FTP manager, you should extract the plugins from archives before uploading them to the server. Make sure the folder with the extracted plugin files doesn’t contain another folder inside with the same name.
Step 6 : It’s time to install the theme. To do it, navigate to the wordpress > wp-content > themes folder using cPanel and file manager tool or your FTP client.